Category Archives: Crafting

My craft category,you find everything from cards to jewelry to stuffed animals

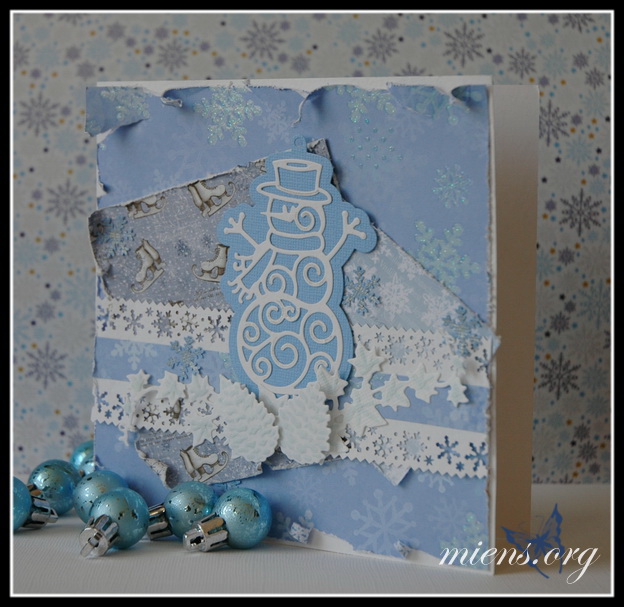
Christmas Card #3 2015

I didn’t do this card for a challenge, but just because I bought a nice die and wanted to use it at once.
It was, in all honesty, a little difficult to punch out, but with a little practice I got to the hang of it.

Chritmas card with Snowman

The card is 6×6″ and the body is white cardstock. I have used three different patterned paper with snow theme.

Ivy from Marianne Design

In addition to my new die with a snowman I used dies with ivy and pine cones that are embossed and colored with a ProMarker, Tea green.
The border is made with a edge punch and a strip of one of the patterned papers.

Pine cones from Marianne Design

I’ve put the pine cones on 3D pillows to give the card a little life. The ivy is just glued under the pine cones and then a little upturned.

Blue Christmas Card

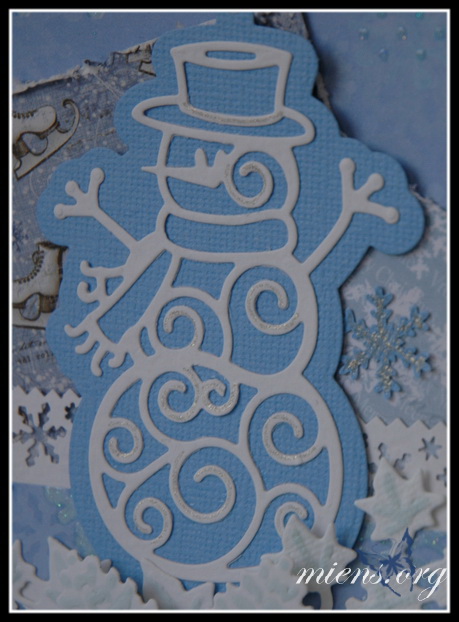
My lovely snowman! You can use it both with and without the background.

Snow man from Marianne Design

The snowman was given a little sparkels with a sparkly Sakura pen. I you look close you fins some blue snowflakes in the background. Thees are also sparkling but with some silver glitter glue.

Book foldning – Heart in Heart

I have started with something new the last couple of weeks, folding patterns in books or Book folding. I have not come so far that I do custom designs yet, but I have plans.

This is not the first book I folded, actually it’s the second one. The first is not finished yet.

The pattern is made by Annelie Söderwall and you‘ll find her on Facebook in the group SwEa’s Bokvikning! There are 165 sheets and you need a book that is at least 21 cm high.

Material List:


Lilac in a pot

This little lilac is made after an old cross-stitch pattern.

Lilac in a pot

I’ve done it with mini beads, but it goes equally well with larger beads.
My lilac are 5×3 cm.

Material List:

You can download the pattern of the Lilac in a pot by clicking on the button


Please leave a comment if you use my pattern. It’s fun to see what others are doing 🙂


Play with dies

I have rediscovered all my dies and has begun to use them in  new ways and way more often. I think I can thank my new storage for it. More about that storage a bit later.

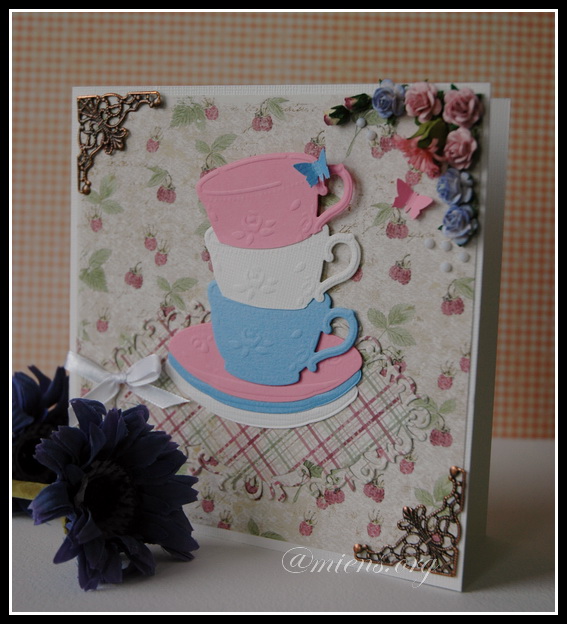
Card with coffee cups

When I made this card I sat and played with a die from Marianne Design that I have had in over a year but never used. I tend to either start a card with a paper or an image or stamp. This time it doesn’t came out like I had imagined it at all.
The card is 6×6″ and has a frame of white cardstock.
I’ve only used a pattern paper, but both sides.

Flowers in the corner

One of the corners got a whole bunch of flowers and some butterflies. The half beads are milky-white and faceted rather than completely round.

Pile of coffee cups

The cups are trimmed to look as if they are in each other. I’m not to happy with the result, so next time I will probably cut a gap in the blue cup and insert the white etc.

Material list:


Decoupage on a tin can

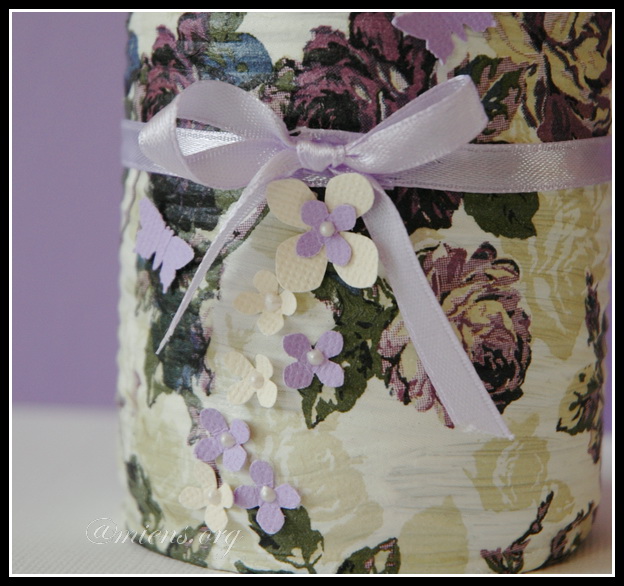
A tin of baked beans might not be the finest thing, but with a make over it can look fabulous.

Tin can

I removed the label on the jar, washed it out well, and then painted it white. I used ordinary wall paint in two layers. The second layer I painted very sloppy to get small differences when I glued on the napkin.
Tin can with flowers
I use a matte decoupage glue. It becomes a more painted surface then. Then I attached a ribbon, tied a bow and finished with little flowers and butterflies in paper.
Tin can

Material list:

Print & Cut with the Silhouette

Silhouette Studio has a feature called Print & Cut. I like this feature and use it to print pictures and cut them with the Silhouette. I then use them as a motif on cards and other things I create.

We start from the beginning and take a look in Silhouette Store. How do I know that the file I buy is a Print & Cut?

Silhouette Store

To begin with, you can use Filters if you are sure that it’s a Print & Cut file you want. Otherwise, you will see it on the little blue box with a P next to the price.
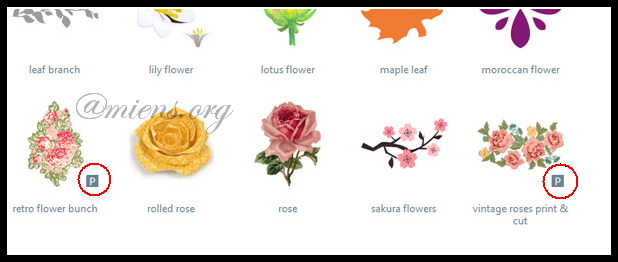
Silhouette library

After purchasing a file and it is located in your library you find the same symbol at most of the files. I have no knowledge of why not all are shown with the symbol, it can be rally annoying sometimes. The rose in the center of this picture is also a Print & Cut, but it’s hard to know without the symbol.
If you know why, please leave a coment to this post. I whant to know!
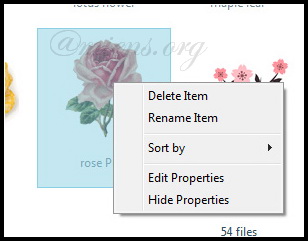
Change the properties of the file

My solution to this problem is to change the name of the file. You do this by right clicking on the image and choose Edit Properties.
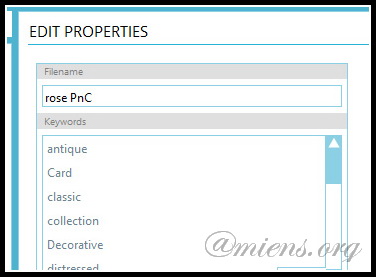
Edit properties

Here you can change the search term, information and the name of the file. I choose to add PnC to the filename.
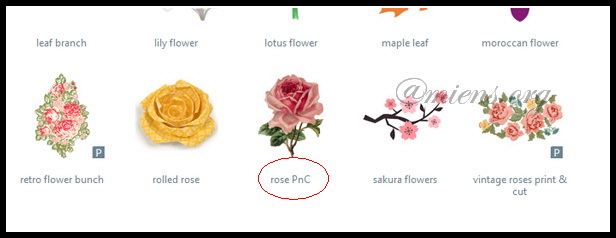
New name

Close the library and open it again (or change file), now you see the new name and you get a clue as to what file it is.

Shall we get started then? With the actual printing and cutting?

Start by changing the paper to A4, letter or what size your printer use, especially if you use a Silhouette Cameo. Since we are printing these shapes, the paper must fit in to your printer.

Shapes on the mat

Choose your shapes and place those on the mat, just as you do when you want to cut out a shape. If you look at my figures you will see that two have white backgrounds. That’s not important, it’s more that the person who made the file might not have been as accurate as I would like.

Registration marks

Open the Registration Marks. You’ll find it right in the tool menu.

Use Registration Marks

Change the settings needed. Right now, just change the type of machine you have. I have an old friend, so I choose Original. The positions can be left as is, even though they can easily be moved to save paper.

Registration marks on the mat

As you see now, I have my shapes at the wrong place. It is the black corners that will be printed with your shapes. These corners can be moved (see above), but we are content to have those where they are this time.

Move the shapes

Move the figures inside the markings.
Then cut the paper you want to use in order to fit your printer. A cardstock or similar paper (12″x12″) you cut to 21×29,7 cm (A4).
Place your paper in the printer. Remember to have any structure in the right direction if you want it visible or not in your figures. Make sure you printer are online.

Print you shapes

Usually it’s about now that you click Send to Silhouette, but we should send it all to your printer instead. Click on the printer icon and print the same way as you normally print documents. I recommend to print in high quality when you know you really want to use the shape.
Don’t do anything with the document in Silhouette Studio while the printer is working.
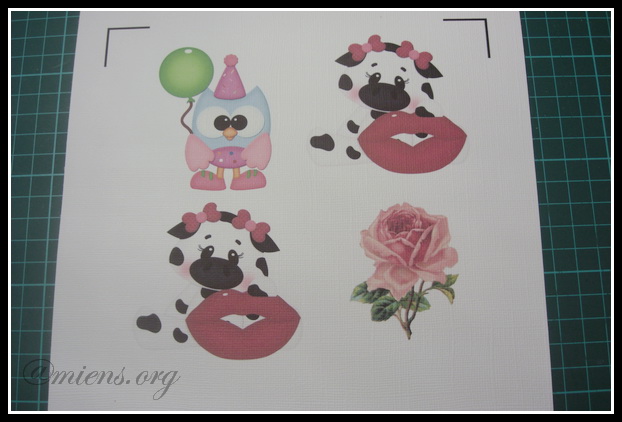
Fresh from the printer

Now you have a paper that should look something like this. The mark in the bottom corner is not visible on this picture. If you have a Cameo, you may have other types of marks.

Feed it to the machine

Attach your paper to the cutting mat and feed it to the Silhouette just the way you usually do. My old model is practically hand cranked, so do as you are accustomed to do.
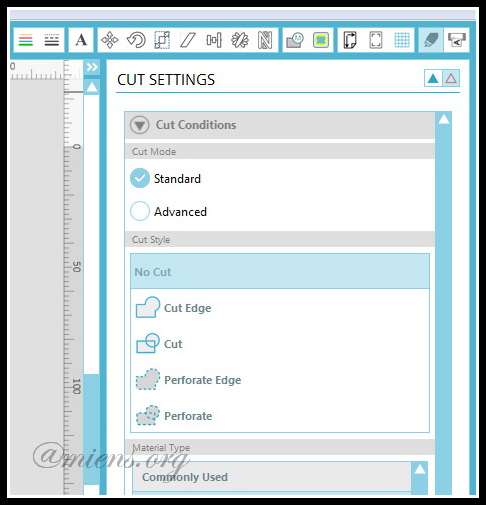
Cut Settings

Now you’re on familiar ground. Select the type of paper you used, in this case, cardstock, and start the cutting.
Your paper will go in and out of the machine when it tries to find the black markings. As soon as that’s done the Silhouette starts to cut.

All Done

Now you have one or more shapes to decorate what you want with.

As you probably noticed in this blog, I like to craft with paper, but I know that it is possible to print on a certain type of vinyl and other media. The procedure is the same, but I can not answer how these materials behave or how you use them.


Note:
All files aren’t great, you might have to work a little by your self to get them the way you want. The cow I have used have the cut line a few millimeters off the edge, and the rose isn’t cut between the stems. (A little hard to see here, but it’s easier of the previous photo)
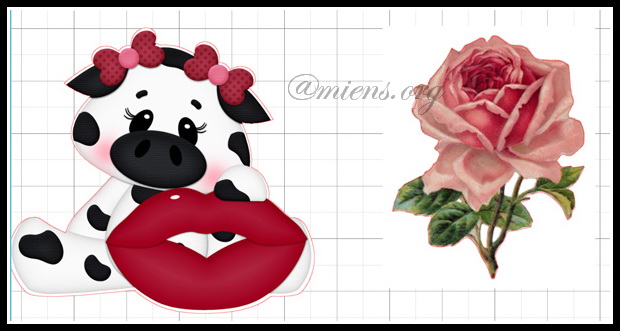
Quality of the shapes


Mobile case with roses

I got tired of my black and white mobile case and made a new one. This time it’s with pink roses. I also tested a new decoupage glue. It should be a little less glossy than glossy, but I want to see if it is as good as my usual brand.

Servett med rosor, glitterlim och decoupagelim

I am using a nice napkin, decoupage Satin from Artemio and a very pink glitter glue.


Mobil case with decopuage

I’ve used the glitter glue on some roses, and then only at the edge of a leaf. There appears little bad in this picture, so I show you a close-up, too.

Närbild på glitterlim

Material list:

Make your own wreath body

You can find dozen and dozen ways to decorate a wreath for you door online, but it can be a little bit harder to find the perfect body for your wreath. Either it’s too small or too large, or perhaps the wrong materials.
If you want to cover the hole body, it’s easy to do the body your self, you only need to visit a har
dware store.
Buy a piece of pipe insulation that are pre-cut on one side. You also need a little silver tape or other sturdy tape and a knife.

Material to make your own Wreath body

I chose a piece of pipe insulation that has an outer diameter of 41mm, but you can choose a thicker or thinner if you want. What is important is that it is pre-cut.
Measure how big wreath you want and cut off the excess material. I do not want my super big, so I cut off 26 cm.

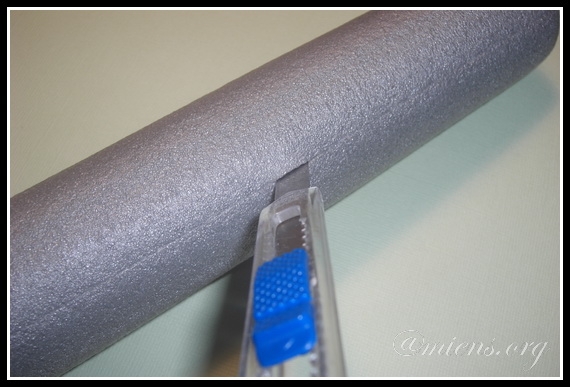
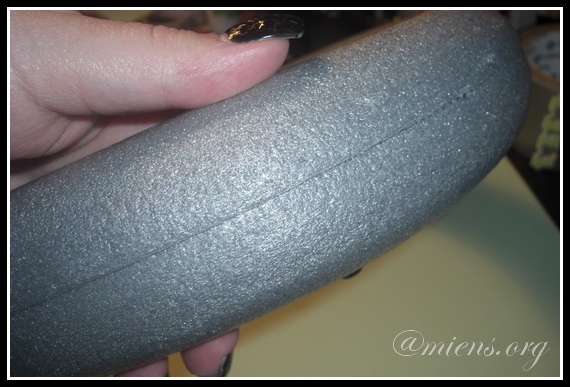
Open up with a knive

Carefully cut up the last of the pre-cut so that you can open the pipe completely. In order to make the pipe into a circle that keeps it’s shape you need the inside to be less than the outside of the circle. The slit side should therefore be our outside as it can be split up and thus become larger. Try to bend in different directions and you’ll see the difference.

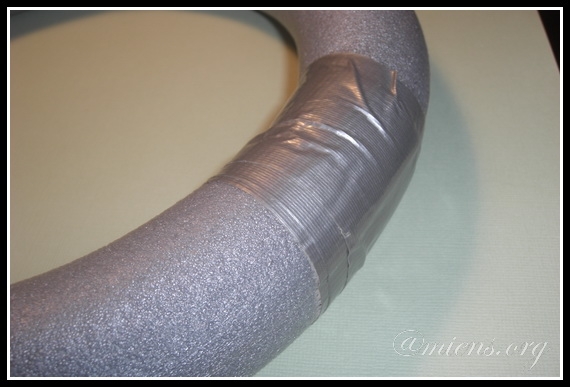
Use tape to seal

Put the ends of the tube together and wrap a few turns of the tape. Make sure it is seated. Work  over your wreath body so that it is uniform throughout. The pipe splits little on where you cut it up, but press and rotate a bit so you get it evenly.

The outside is finish

You should almost not be able to see the joint when you are done.

The body are done

You have finished your wreath body and can decorate it as desired.